Pages

Showing posts with label sewing. Show all posts

Thursday, November 3, 2011

30 Days Hath November day #3 and a little DIY

Something I never leave the house without...


I carry crap.  I carry lots of crap.  I take it with me daily.  This pile of stuff is my normal haul to work.  My purse (full of crap), my work planner, my personal planner, my laptop, and whatever project I am working on.  If I don't feel like thrifting over lunch I have my "stuff" to work on.

 My work planner. A little spray adhesive and floral fabric makes everything better. 
 The other side.

 This bag I made from an old vintage towel (another thing I collect) and is the perfect thing to carry all my stuff.  The great thing about these bags is that they can hold 3 gallons of milk.  Yes, 3 gallons.  The thicker the towel, and the more you reinforce the stitching, the more crap you can hold.  

Want to make one?  You can use one of those "recycle" bags from the grocery store as a make shift pattern for the width/length/and sides.  The great thing about these is that they don't need to be perfect.  Actually they are far from it.  I purposely stitch them on the outside of the right sides because I think that imperfection is best with these.

 I made this one last weekend.  They are super easy.
Take one or two old towels, a bag you like the size of (I used the one I bought from the grocery store for $1).

I folded it in half and then creased the bottom in two spots (to make a flat bottom) and stitched across twice (see below).

  I am a lazy crafter so this was in lieu of cutting a bottom piece. I stitched on the outside because I like how it looks with these old towels.
see how i stitched two times across to make a small rectangle? 

I used the pink towel for the sides so cut two pieces of your side fabric and stitch to the sides and the bottom.  Think of sewing in a U shape.  

For the straps cut two long pieces and stitch the ends to the outside.  If you want it to be super heavy duty, cut 4 pieces and stitch the straps to both the inside and outside.  I always reinforce the straps and stitch not only the outside but an X pattern in the middle of the where the strap meets the bag.
And that's it!  If you make one I would LOVE to see it!  
To come play along with the 30 Days Hath November fun visit  SoFawned.  To see where I am linking up click on the "I like to party" page.

Happy Friday!

Sunday, July 24, 2011

Vintage Sheets to Jumper

I found a cute little jumper at the DAV and knew it was going to be too small for my ginormous two year old...the voice of (un)reason in my head said buy it, and who am I to not listen to the voice in my head.  I took it home, and used it as a guide to make another one out of vintage sheets.
I really must do a better job of measuring twice and cutting once, but quite frankly that's not how I roll.  I had to make some minor adjustments but am overall happy with how it turned out.  I call it my prototype, so the next one will hopefully be better.
The model was a little unruly and showed a bit of bad behavior.  These were the best photos I could get. She also shows signs of being a diva.  If she weren't so darn cute I might have to consider hiring another one.    But she works for milk and cheese and gives the best hugs and kisses....so, i guess I'll give her another chance.

Linking up to the wonderful partays under the "i like to party" tab...and also here.

Thursday, April 21, 2011

Taking in a dress (the easy way)

When I was pregnant, I gained a little weight.  Ok, so I gained a LOT.
 I bought this dress when I was coming down...I got it at Anthropolgie and don't think I have ever worn it.  It's never really fit right.  It used to be tight in the waist and pucker in all the wrong places.  It has always been bigger up top, however I did used to fill it out more.  I hate getting rid of clothes that I like, but haven't worn.  So today I decided to take it in since spring is here, and now I have real expenses to worry about, instead of buying new clothes.  
Here is the easy way to take in a dress.

1.)  Put it on inside out.
2.)  Pin the sides...without pinning yourself.
3.)  Take it off and look at your pin placement.
4.)  Straighten out your pins (unless you want to be more detailed)
5.)  I started sewing from the bottom, because I knew it wouldn't line up perfectly and figured the top was more blousy and I could get away with not being so detailed.
6.)  A few inches below my first pin (a couple inches below the waist) start your new seam-where the old one started.  Start on the outside and sew at an angle toward the first pin.
see the angle?
Here is a picture the opposite angle. Does that make sense?
 
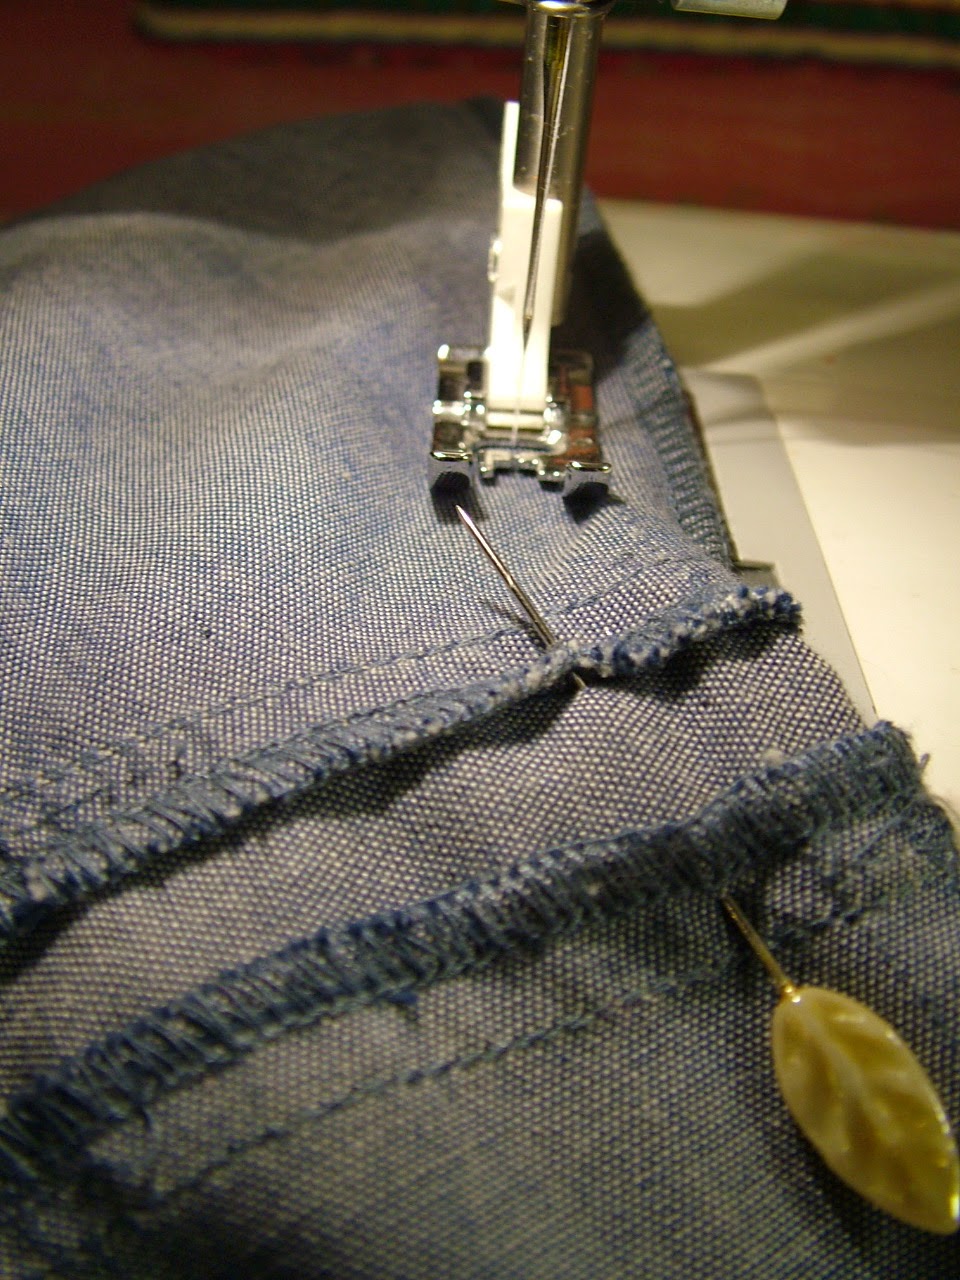
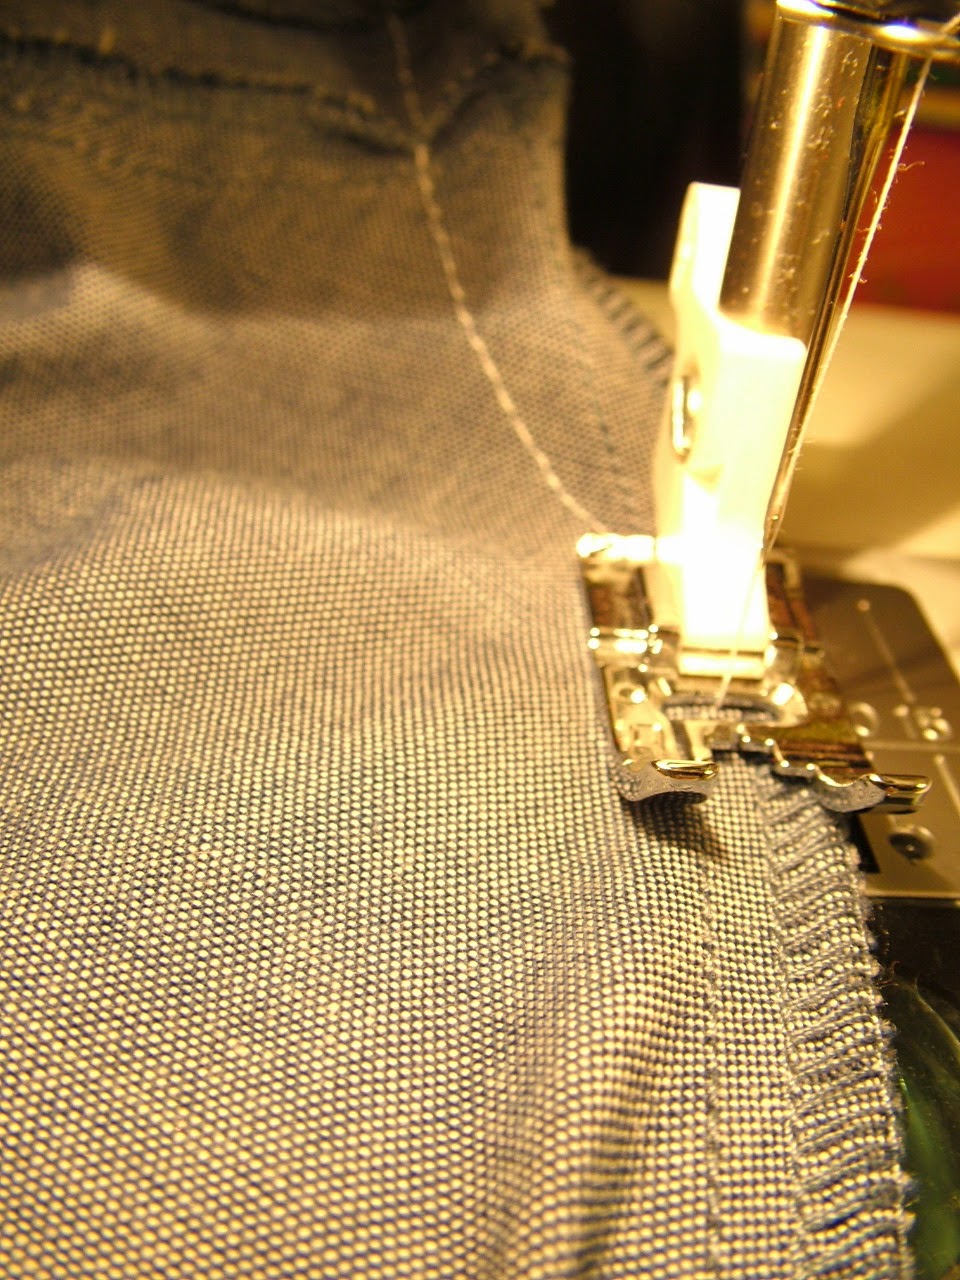
this is what happens when my bobbin starts to run out of thread.  Dangit! I hate ripping out seams.
7.)  When finished it should look something like this.  You can cut off the excess, or leave it on (if you can't tell) then if you get back on the waffle fry/ donut train again, you can rip out the seam and still wear it!
 
There you have it!  Put it back on the right way and it should fit much better.
Click on the "I like to party link" and come join us with your own projects.

Thursday, March 10, 2011

Le tunic

This is for you @katie.  I am trying to get used to photos of myself.  It's all fine when it's girls night and I've had some cocktails...but still a litte weird when it's not.  So here it is, not sure if it counts as self portrait since I cut my head off.  My tunic on....
Thanks for the comments I loooove them.  Holla!

Saturday, January 29, 2011

Project Restyle week 3


This started as a plain maternity cardi from the Gap.  I didn't take a before picture.  But I blanket stitched a ton of felt pieces to the shoulders.  I have so many unfinished projects it's nice to have some motivation to get 'em done!